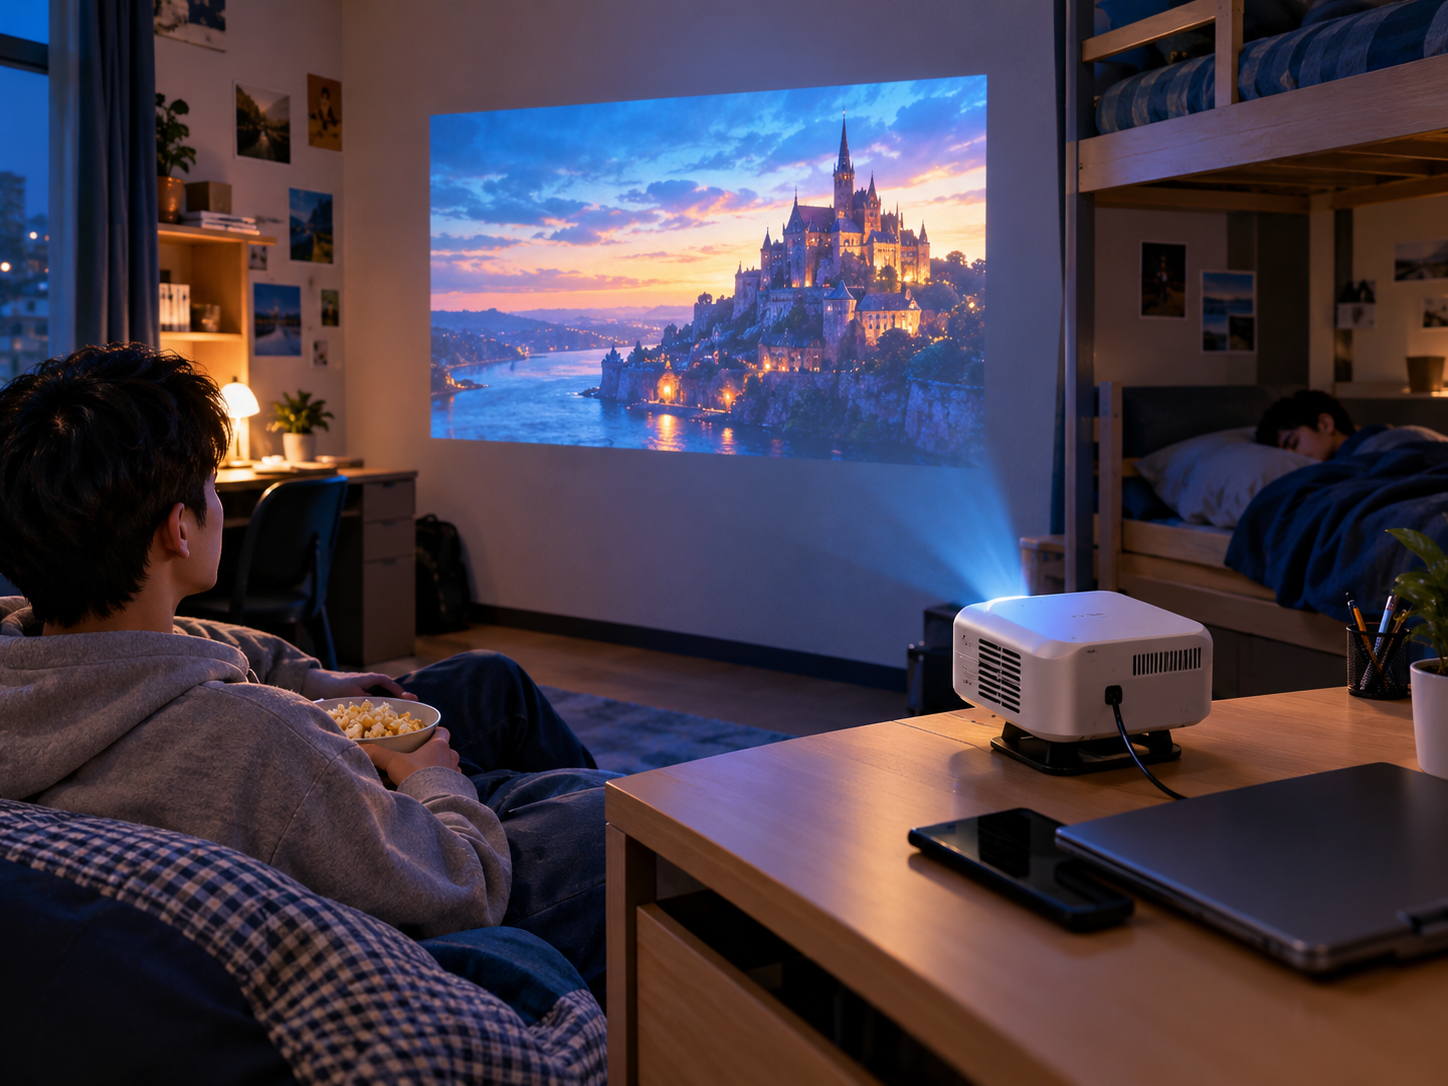

A backyard movie night can be surprisingly simple to set up. You mainly need five things: a portable projector, a suitable screen or viewing surface, reliable power, audio, and a stable setup protected from wind and moisture.
For most backyard setups, plan on 10–20 minutes for a basic installation once you have all the equipment ready. The key is choosing the right location first, then connecting the projector, screen, power, and sound in that order.
Quick Checklist: What Do You Need for an Outdoor Movie Night?
Before bringing everything outside, use this checklist:
|
Item |
What to Prepare |
Why It Matters |
|
Portable projector |
Projector with suitable brightness and HDMI/streaming support |
Creates the image |
|
Screen |
Outdoor projector screen, white wall, or smooth sheet |
Provides a clear viewing surface |
|
Power |
Outdoor-rated extension cord or portable power station |
Keeps the projector running |
|
Audio |
Bluetooth speaker, wired speaker, or projector speaker |
Improves movie dialogue and sound |
|
Streaming source |
Streaming stick, laptop, or built-in smart platform |
Provides movies and shows |
|
Stable surface |
Table, projector stand, or tripod |
Keeps the image aligned |
|
Wind protection |
Stakes, weights, clips, or a sheltered location |
Prevents screen and equipment movement |
|
Weather protection |
Dry location and protection from unexpected moisture |
Protects electronics |
|
Cables |
HDMI, power, and audio cables as needed |
Prevents last-minute connection problems |
|
Seating |
Outdoor chairs, blankets, or cushions |
Makes the movie comfortable |
|
Lighting |
Low-level outdoor lighting |
Helps guests move around safely |
The five essentials
If you want the shortest possible packing list, start with:
Projector + screen + power + audio + movie source.
Everything else improves convenience, comfort, or stability.
1. Choose the Right Backyard Location
The location has more impact on image quality than many people expect.
Look for a spot that is:
· As dark as possible after sunset
· Away from direct outdoor lighting
· Large enough for the desired screen size
· Close enough to a power source
· Protected from strong wind
· On relatively level ground
· Dry and away from sprinklers or potential rain
Avoid placing the projector directly on grass if the surface is uneven or damp. A small outdoor table, tripod, or stable stand gives you better control over the projection angle.
Also check the distance between the projector and screen before setting everything up.
Don't choose the screen size first
A common mistake is buying or setting up the largest screen possible and then discovering that the projector cannot fill it from the available distance.
Instead:Projector location → throw distance → screen size → final image adjustment
This approach makes the setup much easier.
For more detailed placement advice, see our room-by-room projector setup guide.
2. Set Up the Outdoor Screen
You do not necessarily need a dedicated outdoor screen.
You can use:
Outdoor projector screen
This is usually the easiest option if you regularly host movie nights. A dedicated screen provides a flatter, more predictable projection surface.
White wall
A smooth, light-colored exterior wall can work well if the surface is reasonably flat.
White sheet
A sheet can work for a casual setup, but wrinkles and movement can noticeably affect the image.
If you use a sheet, stretch it as tightly as possible and secure the corners.
Prevent screen movement
Wind is one of the biggest problems with backyard projection.
Use:
· Ground stakes
· Sandbags or weights
· Strong clips
· Guy lines where appropriate
· A sheltered location
Never assume a lightweight screen will remain stable simply because the weather feels calm when you start.
3. Position the Portable Projector
Place the projector on a stable, level surface facing the center of the screen.
Before adjusting the image, make sure the projector itself is positioned correctly.
Basic positioning sequence
1. Place the projector at the desired viewing distance.
2. Point it toward the center of the screen.
3. Adjust the physical position until the image is approximately centered.
4. Focus the image.
5. Use keystone correction only if necessary.
6. Check all four corners of the image.
7. Make a small final adjustment to the projector position.
Whenever possible, physically reposition the projector before relying heavily on digital keystone correction. Excessive correction can reduce the usable image area and may affect perceived sharpness.
4. Connect Power
Power is one of the most important parts of an outdoor projector setup.
Depending on your backyard, you can use:
Outdoor power outlet
If an outdoor outlet is nearby, use an appropriately rated outdoor extension cord and keep connections away from water and foot traffic.
Portable power station
A portable power station can make the setup more flexible when there is no convenient outlet.
Before movie night, check:
· Projector power requirements
· Power station capacity
· Expected viewing duration
· Extension-cord length
· Where cables will be placed
Do not leave electrical connections exposed to rain, sprinklers, or wet ground.
If the weather becomes unsuitable, move the equipment indoors.
5. Choose Your Audio Setup
A projector's built-in speaker can be enough for a small gathering, but outdoor spaces are less forgiving than bedrooms or living rooms.
Sound disperses quickly outdoors, so an external speaker can make dialogue and music much easier to hear.
Option 1: Projector speaker
Best for:
· Small groups
· Casual viewing
· Short movie sessions
Option 2: Bluetooth speaker
Best for:
· Simple wireless setups
· Flexible speaker placement
· Reducing cable clutter
Check Bluetooth compatibility before movie night and pair the speaker in advance.
Option 3: Wired speaker
A wired connection can be useful when you want to minimize wireless connection problems.
For larger groups, place the speaker closer to the audience rather than directly beside the projector.
6. Prepare Your Movie Source
There are several ways to play a movie outdoors:
· Smart projector apps
· Streaming sticks
· Laptop
· HDMI-connected media player
· Downloaded content for offline playback
If you rely on Wi-Fi, test the connection at the actual backyard projector location before the event.
A strong connection inside the house does not necessarily mean you will have a reliable connection outside.
For streaming devices, also test:
· HDMI connection
· Power connection
· Wi-Fi
· Remote control
· Streaming account login
· Audio output
Doing this before guests arrive can prevent most last-minute problems.
7. Check Brightness Before Sunset
Outdoor projection works best after the environment becomes sufficiently dark.
Even a bright projector can struggle when competing with:
· Sunlight
· Porch lights
· Garden lights
· Street lights
· Security lights
For the best image quality, start the movie after sunset or when ambient light is low.
You can also improve perceived contrast by turning off unnecessary lights around the screen.
However, keep enough low-level lighting around walking areas so guests can move safely.
What If It Gets Windy?
Wind can quickly turn a simple outdoor movie night into a frustrating setup.
If the wind increases:
1. Check the screen and secure it with additional weights.
2. Make sure the projector is not wobbling.
3. Protect loose cables.
4. Move the setup to a more sheltered location if possible.
5. Stop using the equipment if weather conditions become unsafe.
A large screen can act like a sail, so screen stability is often more important than projector stability.
What If It Starts Raining?
Most portable home projectors are designed for indoor use rather than exposure to rain.
If rain is possible:
· Check the weather before starting.
· Keep the projector and electrical connections in a dry location.
· Do not operate equipment in wet conditions unless it is specifically designed and rated for them.
· Have an indoor backup plan.
A covered patio can provide some protection, but a roof does not automatically make an electronic setup weatherproof.
How to Get Better Outdoor Picture Quality
You don't always need a more expensive projector to improve your backyard movie night.
Start with the environment.
1. Make the area darker
Darkness improves perceived contrast and helps the projected image stand out.
2. Use a flat projection surface
A smooth screen or wall will generally look better than a wrinkled sheet.
3. Keep the projector stable
Movement can make the image appear misaligned or blurry.
4. Focus after the projector reaches operating temperature
If necessary, make a final focus adjustment shortly before starting the movie.
5. Avoid excessive keystone correction
Physical alignment is preferable whenever practical.
6. Match screen size to viewing conditions
A smaller, well-lit image can look better than an oversized image that appears washed out.
The Best Backyard Movie Night Setup
For most casual movie nights, you don't need a complicated home theater system.
A practical setup looks like this:
Portable projector + outdoor screen + stable table/tripod + power source + Bluetooth speaker + streaming device + comfortable seating.
Set the screen in the darkest suitable area, position the projector at the correct throw distance, secure everything against wind, test your connections, and wait until the environment is dark enough.
The goal is not to build the most complicated outdoor theater. The best setup is the one that can be assembled quickly, stays stable, and gives everyone a clear picture and comfortable sound.
Frequently Asked Questions
What do I need for an outdoor movie night?
At minimum, you need a projector, projection surface, power source, and movie source. An external speaker is recommended for larger outdoor gatherings.
How bright should a projector be for outdoor use?
There is no single brightness number that works for every outdoor environment. Ambient light, screen size, viewing distance, and darkness all affect the result. For the best experience, wait until after sunset and minimize nearby light sources.
Can I use a white sheet as a projector screen?
Yes. A white sheet can work for a casual movie night, but it should be stretched tightly because wrinkles and movement can reduce image quality.
How do I power a projector outside?
You can use a suitable outdoor electrical outlet and extension cord or a compatible portable power station. Keep electrical connections dry and away from water.
How do I keep an outdoor projector screen from blowing away?
Use appropriate stakes, weights, clips, or guy lines and choose a location protected from strong wind. Always follow the screen manufacturer's installation instructions.
Final 10-Minute Checklist
Before guests arrive:
☐ Screen secured
☐ Projector positioned
☐ Power connected
☐ Speaker paired
☐ Wi-Fi tested
☐ Movie loaded
☐ Image focused
☐ Cables secured
☐ Weather checked
☐ Outdoor lights reduced
Press play—and enjoy the movie.