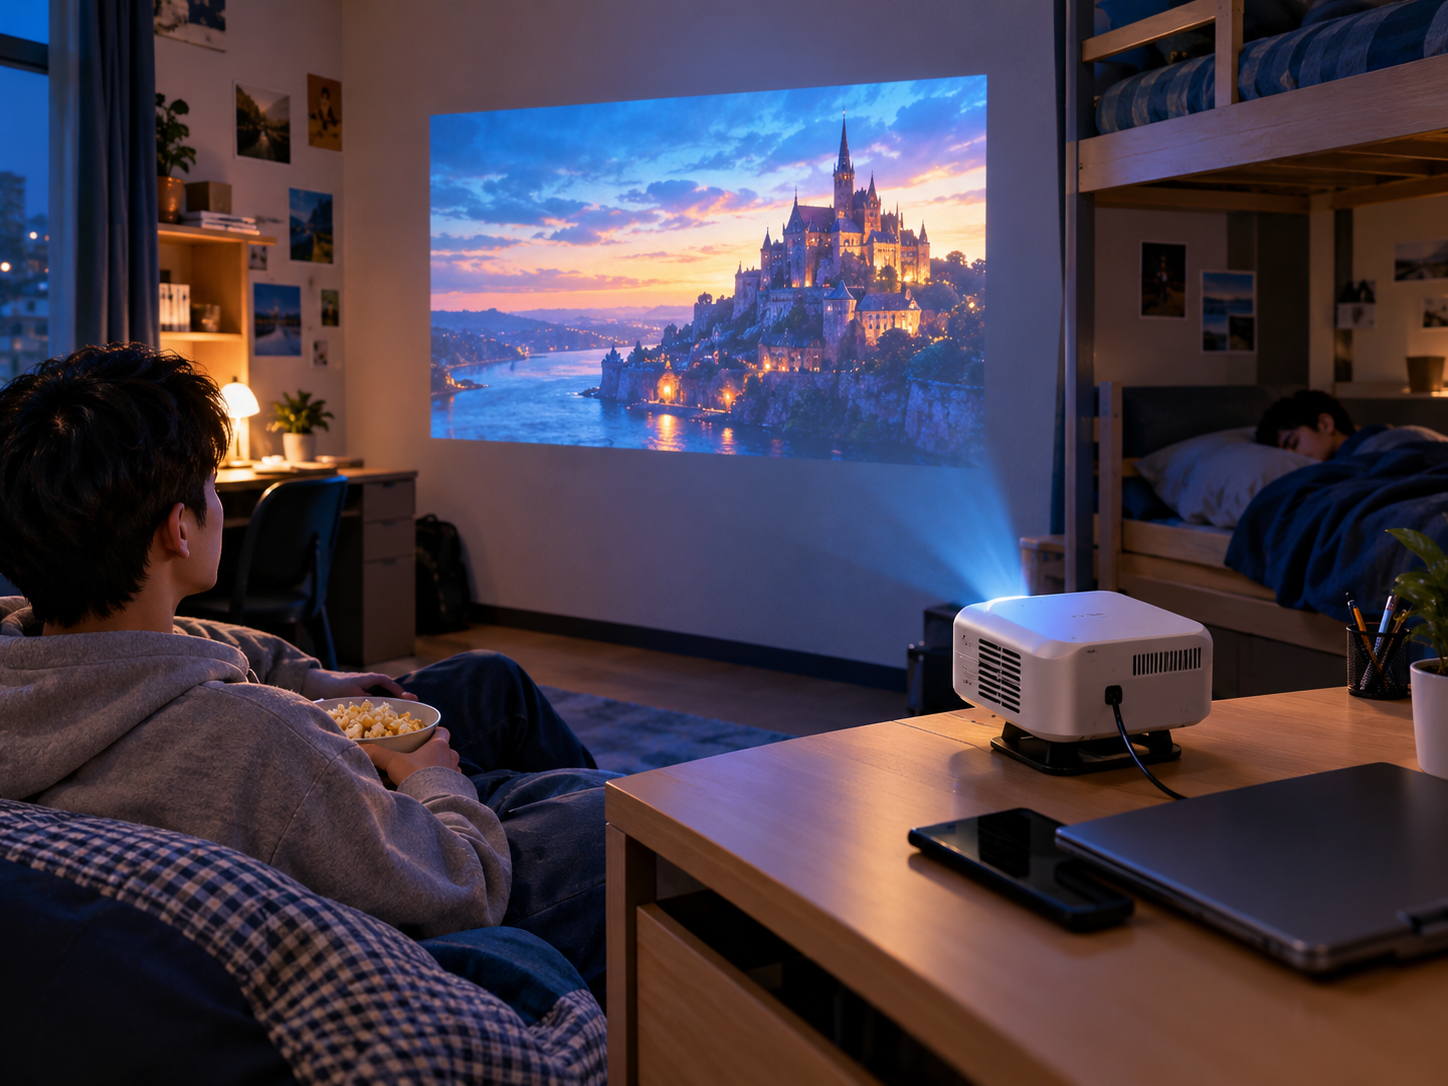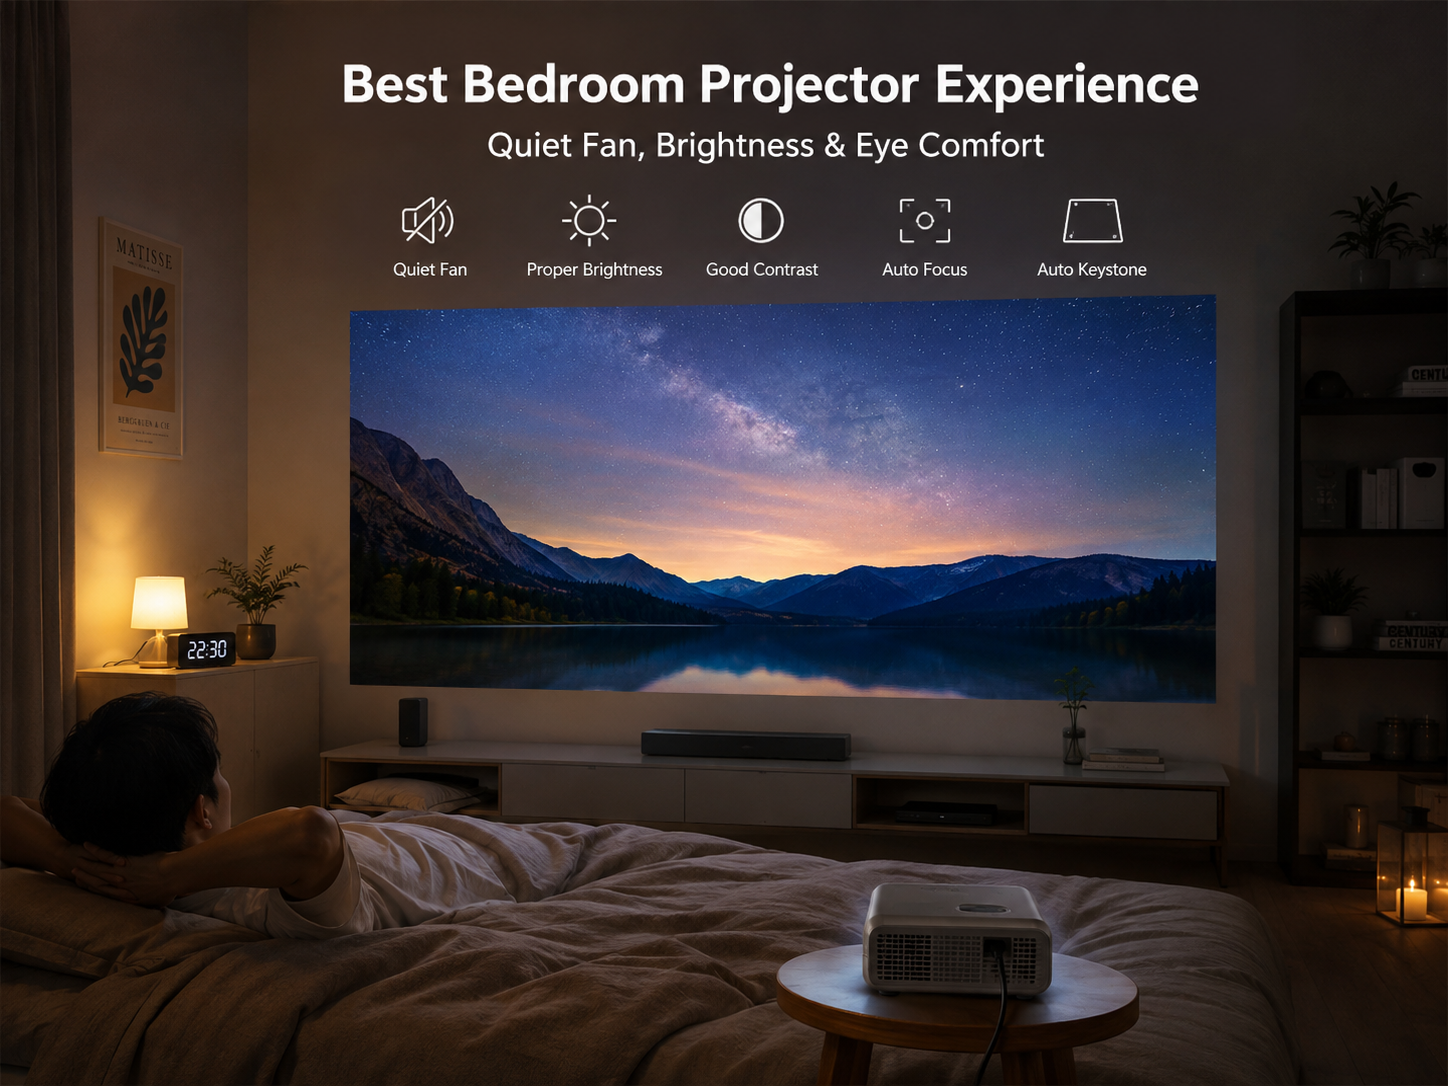

The Magcubic HY320 Pro is designed to make everyday projection simple, from pairing the Bluetooth remote and connecting to Wi-Fi to adjusting focus, keystone correction, screen size, apps, HDMI devices, and smartphone mirroring.
This guide brings the most common HY320 Pro “How to” questions and solutions together in one place, so you can quickly find the setting you need.
1. How to Pair the Bluetooth Remote
To connect your Bluetooth remote to the HY320 Pro:
1. Turn on Bluetooth on the projector.
2. Press and hold the Left Arrow + Right Arrow buttons at the same time.
3. Continue holding until the indicator light starts flashing.
4. When you hear the confirmation beep, the remote has been successfully paired.Your remote is now ready to use.
2. How to Use Air Mouse Mode
Air Mouse mode lets you control the on-screen cursor by moving the remote.
1. Make sure the Bluetooth remote is connected to the projector.
2. Press and hold the Left Arrow + Right Arrow buttons until the indicator light starts flashing.
3. Press the Mouse button to activate Air Mouse mode.
4. Gently move your wrist to move the cursor.
5. Press the Mouse button again to exit Air Mouse mode.
6. If the cursor does not move accurately, recalibrate the Air Mouse.
3. How to Calibrate Air Mouse Sensitivity
If the Air Mouse cursor is slow, inaccurate, or not responding correctly:
1. Press and hold OK + HOME for about 2 seconds.
2. When the indicator light stays on, place the remote flat on a table.
3. Keep the remote still.
4. Wait for the indicator light to turn off.
5. Calibration is complete when the indicator light turns off.
4. How to Focus the HY320 Pro
The HY320 Pro supports automatic focusing for quick image adjustment.
1. Place the projector approximately 0.9–3 meters from the wall.
2. Make sure Auto Focus is enabled in Projection Settings.
3. Move the projector slightly to trigger the Auto Focus function.
4. A checkerboard pattern will appear while the projector adjusts the focus.
5. Wait until the image becomes sharp.
For additional adjustment, use the Focus buttons on the remote to fine-tune the image manually.
Why is my projector image blurry?
First, make sure the projector is positioned within the recommended distance and is facing the projection surface. Then trigger Auto Focus. If the image still needs adjustment, use the manual focus buttons on the remote.
5. How to Adjust the Projection Size
If the projected image is too large or too small:
1. Open Settings.
2. Select Projector Settings.
3. Select Digital Scaling.
4. Use the Arrow buttons to adjust the image size.
Digital Scaling lets you change the displayed image size without physically moving the projector.
6. How to Download Apps
To install an app directly from the projector:
1. Open My Apps.
2. Select App Store.
3. Search for the app you want.
4. Select Install.
5. Wait for the installation to finish.
6. Once installed, you can add the app to the Home screen for easier access.
If an app cannot be installed or does not work correctly, check whether the app is compatible with the projector's operating system and available app store.
7. How to Update the System Firmware
Keeping the projector firmware updated can help improve system performance and compatibility.
1. Open Settings.
2. Select System Info.
3. Select Online Update.
4. Choose Check for Updates.
5. If a new firmware version is available, select Download.
6. Follow the on-screen instructions to complete the update.
Avoid turning off the projector during a firmware update.
8. How to Adjust Display Settings
You can adjust the picture while watching a video or viewing an image.
1. Start playing your video or open an image.
2. Press the Menu button on the remote.
3. The Display Settings panel will appear on the left side of the screen.
4. Select a picture mode according to your preference.
5. For more control, select Custom Mode.
6. Adjust settings such as Brightness, Contrast, Hue, and Saturation.
Custom Mode is useful when you want to fine-tune the picture for movies, gaming, or different room lighting conditions.
9. How to Connect the HY320 Pro to Wi-Fi
A Wi-Fi connection is required for many online features and network-based functions.
1. Open Settings.
2. Go to Network Settings → Wireless Network.
3. Turn Wi-Fi on.
4. Select your Wi-Fi network from the available list.
5. Press OK to open the on-screen keyboard.
6. Enter your Wi-Fi password.
7. Select √ to confirm.
Once connected, the projector can access available online network features.
What should I do if the projector cannot connect to Wi-Fi?
Check that the Wi-Fi password is correct and that the projector is within a reasonable range of the router. You can also turn Wi-Fi off and on again or restart the projector and router before trying again.
10. How to Use a USB Storage Device
The HY320 Pro can be used to access supported files from a USB flash drive.
1. Insert a USB flash drive into the projector's USB port.
2. Open the storage folder from the pop-up window.
3. Browse the files stored on the USB drive.
4. Select a supported file to open or play it.
The projector supports USB flash drives up to 512 GB in FAT32 or NTFS format.
Note: External hard drives are not supported.
11. How to Connect a Device via HDMI
You can connect devices such as a Windows PC or TV box through HDMI.
Using a Windows PC as an example:
1. Connect the Windows PC to the projector using an HDMI cable.
2. Turn on the projector and the connected device.
3. Select HDMI from the projector's Home screen.
4. The Windows screen should then appear on the projected display.
HDMI is a useful option when you want to use the projector as a large external display.
12. How to Mirror an Android Phone — Method 1: tranScreen
The HY320 Pro supports Android screen mirroring through the tranScreen app.
1. Connect the projector and Android phone to the same Wi-Fi network.
2. Open the ScreenCast app on the projector.
3. Follow the on-screen instructions to install tranScreen on your Android phone.
4. Select Start on the projector.
5. Open tranScreen on your phone.
6. Follow the instructions in the app to start screen mirroring.
Your Android phone screen should then appear on the projector.
13. How to Mirror an Android Phone — Method 2: Miracast
If your Android phone supports Miracast or a similar wireless display function:
1. Open the ScreenCast app on the projector.
2. Select Miracast.
3. Select Start.
4. On your Android phone, swipe down from the top of the screen to open Quick Settings.
5. Select Screen Cast, Screen Mirroring, or the corresponding wireless display option.
6. Select the projector from the available devices.
7. Confirm the connection if prompted.
The exact name of the screen-mirroring function may vary depending on the Android phone manufacturer.
14. How to Mirror an Android Phone via USB Cable
You can also try connecting an Android phone directly to the projector.
1. Connect the Android phone to the projector using a compatible USB cable.
2. Follow the prompts displayed on the phone.
3. Allow the required connection permissions.
4. Follow the on-screen instructions to begin screen mirroring.
USB mirroring behavior can vary depending on the Android phone model and its supported USB functions.
15. How to Fix a Skewed Image with Keystone Correction
If the projected image looks like a trapezoid instead of a rectangle, use Keystone Correction.
The HY320 Pro provides Manual Keystone Correction and Auto Keystone Correction.
Method 1: Manual Keystone Correction
1. Go to Settings → Projection Settings → Manual Keystone Correction.
2. You will see four adjustment points.
3. Use the Direction keys to move each point.
4. Adjust the four corners until the image forms a proper rectangle.
5. To reset the correction, place the projector flat and facing the wall.
6. Select Reset Keystone.
Manual correction is useful when you want precise control over the four corners of the projected image.
Method 2: Auto Keystone Correction
1. Turn on Auto Keystone Correction.
2. Allow the projector to automatically adjust the image.
3. Use the Direction keys for additional fine-tuning if necessary.
4. If the image is still not aligned correctly:
5. Place the projector flat and facing the wall.
6. Select Initial Keystone Correction.
7. Move the projector up or down to allow the projector to recalibrate automatically.
8. Press the Back button to save the adjustment.
How to Get the Best Keystone Result
Whenever possible, position the HY320 Pro directly toward the projection surface and keep the projector reasonably level. Good physical placement reduces the amount of digital correction required and can help maintain better image quality.
16. HY320 Pro Setup Checklist
For the best first-time setup experience:
· Position the projector at a suitable distance from the wall.
· Enable Auto Focus and adjust focus if necessary.
· Keep the projector reasonably level and facing the projection surface.
· Use Auto Keystone or Manual Keystone Correction when needed.
· Connect to Wi-Fi for online functions.
· Pair the Bluetooth remote before using Air Mouse features.
· Update the firmware when a new version is available.
· Use HDMI when connecting a PC or compatible external device.
· Use ScreenCast, tranScreen, or Miracast for supported Android screen-mirroring methods.
· Use a supported FAT32 or NTFS USB flash drive for local media playback.
Final Tips
Most HY320 Pro setup problems can be solved by checking three things first: projector placement, connection settings, and image adjustment. Position the projector correctly before relying heavily on digital correction, use Auto Focus for quick focusing, and keep the projector and phone on the same Wi-Fi network when using wireless Android mirroring.
This guide can also serve as a quick reference whenever you need to pair the remote, adjust the image, connect a device, install apps, or troubleshoot everyday HY320 Pro usage.