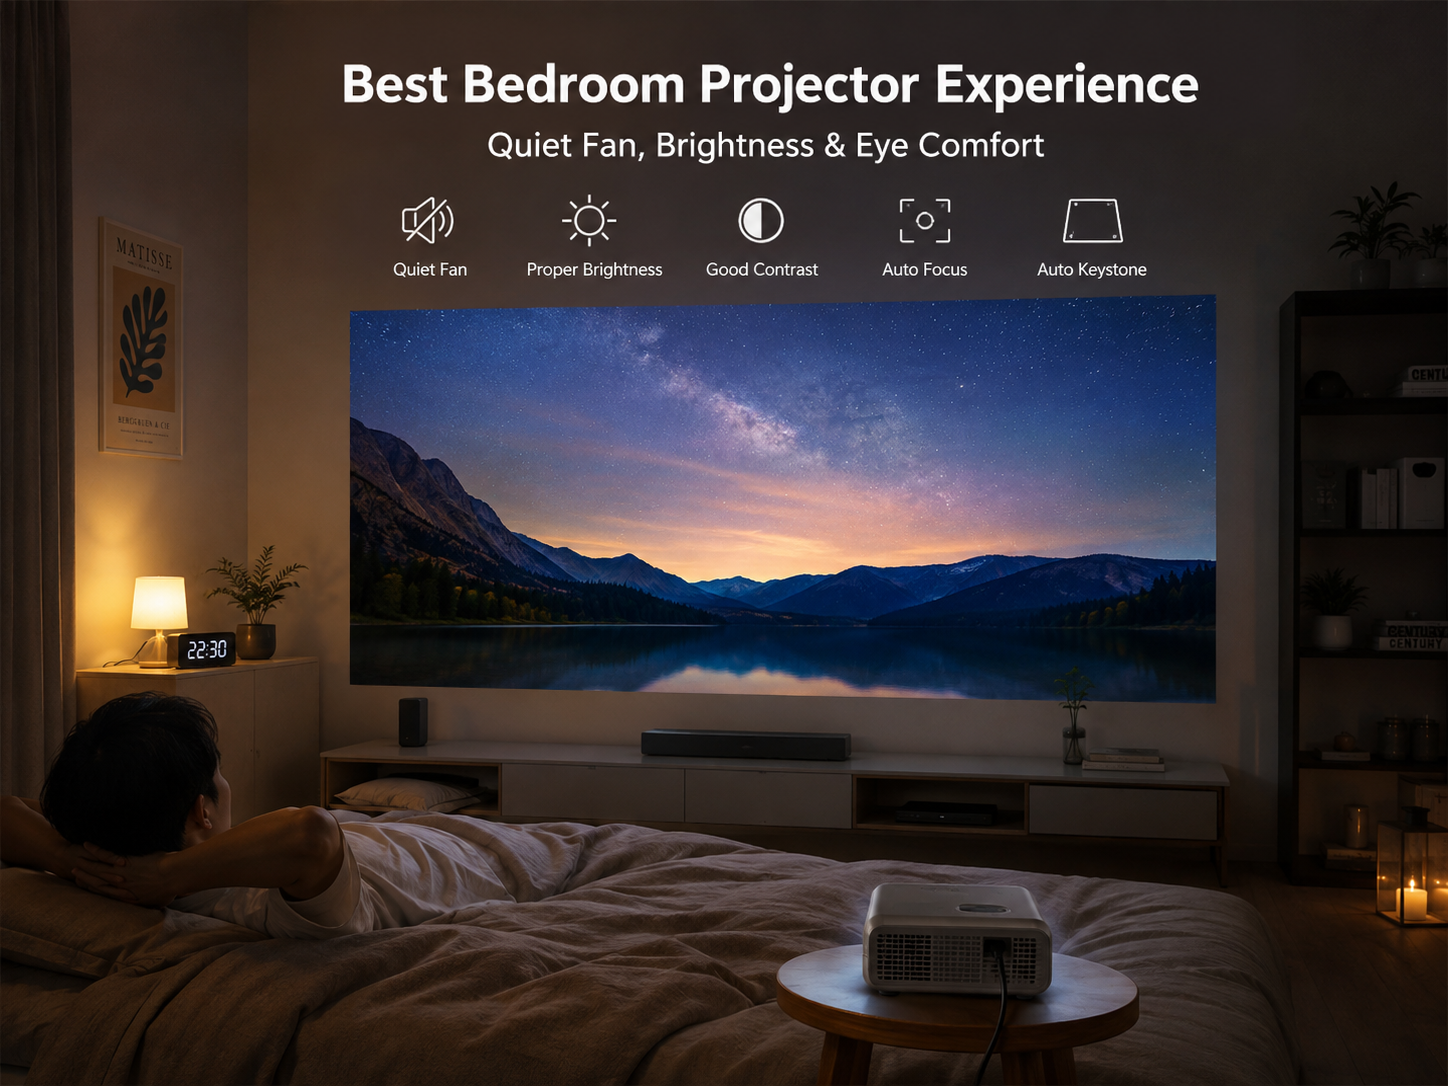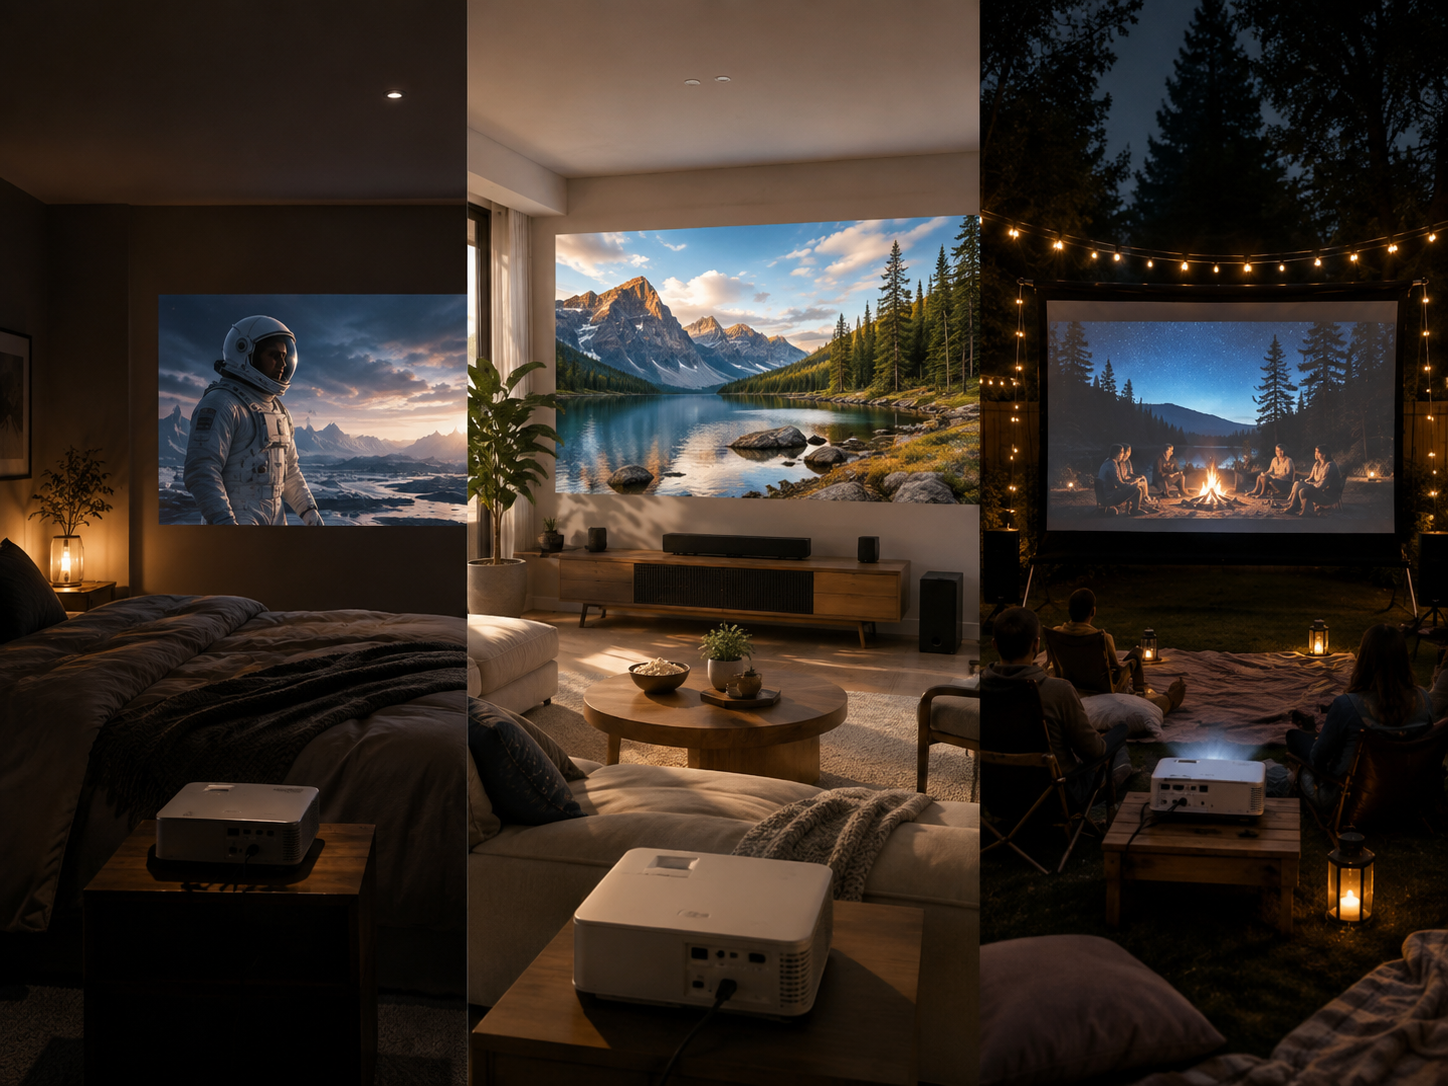

Setting up a projector in a small bedroom is easier when you choose the screen size and projector position before mounting or placing the projector.
For most small bedrooms, a 70–100 inch image is a practical range. The exact screen size depends on the projector's throw ratio, the available wall width, viewing distance, and whether the projector is placed on a nightstand, shelf, ceiling, or directly in front of the bed.
The most important rule is simple:
Choose the image size first, calculate the required throw distance, then choose the projector position.
This guide explains how to set up a bedroom projector, how to calculate throw distance and screen size, and how to choose the best placement for three common bedroom layouts.
Quick Answer: How Do I Set Up a Projector in a Small Bedroom?
For a typical small bedroom:
· 70–80 inches: Best for very limited wall space or a closer viewing position.
· 90–100 inches: A good balance for bedroom movies and TV streaming.
· 100–120 inches: Suitable for larger bedrooms with enough wall and viewing distance.
· Throw distance: Depends on the projector's throw ratio, so always check the manufacturer's specifications.
· Placement: A nightstand, shelf, ceiling mount, or front-of-bed position can all work if the projector is aligned correctly.
· Screen: A flat white wall can work for casual viewing, but a projector screen usually provides a more consistent viewing surface.
For most compact bedrooms, 80–100 inches is a practical starting point.
1. Measure Your Bedroom Before Choosing a Projector
You do not need a large room to use a projector. However, three measurements determine whether a projector will work well:
1. Available wall width
Measure the wall where you want the image to appear.
Bedroom screen-size reference
|
Image Size |
Approx. Width |
Approx. Height |
Recommended Use |
|
70" |
155 cm |
87 cm |
Very small bedroom |
|
80" |
177 cm |
100 cm |
Small bedroom |
|
90" |
199 cm |
112 cm |
Bedroom movie setup |
|
100" |
221 cm |
125 cm |
Immersive bedroom cinema |
|
120" |
266 cm |
149 cm |
Larger bedroom |
These measurements assume a standard 16:9 aspect ratio.
2. Understand Throw Distance Before Positioning the Projector
Throw distance is the distance between the projector's lens and the projection surface.
The relationship between image size and projector position is determined by the projector's throw ratio.
The basic calculation is:Throw Distance = Image Width × Throw Ratio
For example, if a projector has a 1.2:1 throw ratio and you want a 100-inch 16:9 image:
· Image width ≈ 2.21 m
· Throw ratio = 1.2
· Throw distance ≈ 2.65 m
This means the projector lens would need to be approximately 2.65 meters from the screen.
Why throw ratio matters
Two projectors can produce the same 100-inch image while requiring very different placement distances.
For example:
· A short-throw projector may create a large image from a relatively short distance.
· A standard-throw projector usually needs more space.
· An ultra-short-throw projector can create a very large image from a position very close to the wall.
· Therefore, do not choose projector placement based only on the advertised maximum screen size.
Check the projector's throw ratio and recommended projection distance.
3. Bedroom Projector Throw Distance & Screen Size Quick Guide
The following table can be used as a starting point for planning.
|
Screen Size |
16:9 Image Width |
Approx. Throw Distance at 1.0:1 |
Approx. Throw Distance at 1.2:1 |
|
70" |
1.55 m |
1.55 m |
1.86 m |
|
80" |
1.77 m |
1.77 m |
2.12 m |
|
90" |
1.99 m |
1.99 m |
2.39 m |
|
100" |
2.21 m |
2.21 m |
2.65 m |
|
120" |
2.66 m |
2.66 m |
3.19 m |
Important: These are example calculations, not universal projector specifications. Always use the actual throw ratio provided for your projector.
For projectors with a throw ratio below 1.0, the required distance will be shorter than the image width.
4. Three Practical Bedroom Projector Placement Options
The best bedroom projector placement depends on the room layout and available furniture.
Option 1: Nightstand or Bedside Table
This is one of the easiest setups for a compact bedroom.
Best for:
· Renters
· Temporary setups
· Small bedrooms
· Users who do not want to drill into walls or ceilings
· Portable projectors
Setup steps:
1. Place the projector on a stable nightstand or table.
2. Point it toward the opposite wall.
3. Measure the lens-to-wall distance.
4. Adjust the projector until the desired image size is reached.
5. Keep the projector level whenever possible.
6. Use the projector's focus function to sharpen the image.
7. Use keystone correction only when necessary.
Advantages
The projector can be moved easily and stored when not in use.
Potential problem
A bedside position can create an off-center image or cause shadows if someone walks between the projector and wall.
For the best image quality, position the projector as close to the center of the screen as practical.
Option 2: Rear Shelf or Wall Shelf
A shelf behind the bed can provide a cleaner permanent setup.
Best for:
· Bedrooms with built-in shelves
· Fixed movie setups
· Users who want to keep the floor clear
Setup steps:
1. Measure the distance from the shelf to the projection wall.
2. Compare this distance with the projector's throw-distance range.
3. Position the projector approximately perpendicular to the wall.
4. Center the lens with the projection area.
5. Leave enough ventilation space around the projector.
6. Secure the projector so it cannot be accidentally knocked over.
Why this setup works well
The projector stays out of the way while maintaining a relatively consistent projection position.
However, the shelf must be deep and stable enough for the projector.
Option 3: Ceiling or High-Mount Placement
A ceiling-mounted projector provides the most permanent setup.
Best for:
· Dedicated bedroom cinemas
· Larger bedrooms
· Users who want a clean floor and furniture layout
· Long-term installations
Setup steps:
1. Determine the desired screen size.
2. Calculate the required throw distance.
3. Identify the mounting position.
4. Check the projector's mounting compatibility.
5. Align the lens with the projection area.
6. Secure the mount properly.
7. Route the power and HDMI cables safely.
8. Adjust focus and image alignment.
Main advantage
A ceiling position keeps the projector away from furniture and reduces the chance of accidental movement.
Main disadvantage
Installation is more complicated and usually requires more precise alignment.
5.Where Should a Projector Be Placed in a Small Bedroom?
The best projector placement depends on your room layout and available furniture. For more detailed recommendations, see our room-by-room projector setup guide.
The best projector position is usually directly in front of the projection surface and close to the optical center of the image.
If possible, avoid placing the projector at an extreme side angle.
Recommended priority
When choosing a position, prioritize:
1. Correct throw distance
2. Stable placement
3. Centered projection
4. Adequate ventilation
5. Comfortable viewing angle
6. Convenient power and cable access
This is generally more important than simply choosing the most convenient piece of furniture.
6. Bedroom Projector Setup by Room Size
Instead of choosing a projector solely based on its maximum advertised image size, match the projector to the available space.
Very Small Bedroom
Recommended image: 70–80 inches
Prioritize:
· Compact projector
· Short projection distance
· Bedside-table placement
· Low-noise operation
Small to Medium Bedroom
Recommended image: 80–100 inches
Prioritize:
· Flexible placement
· Suitable throw distance
· 1080p resolution
· Good brightness for the room
Larger Bedroom
Recommended image: 100–120 inches
Prioritize:
· Longer available throw distance
· Higher brightness
· Stable mounting
· Larger projection surface
7. Common Bedroom Projector Setup Mistakes
Mistake 1: Choosing the projector before measuring the room
A projector may support a 100-inch image but still require more throw distance than your bedroom provides.
Solution: Measure the room first and calculate the required projection distance.
Mistake 2: Using the maximum screen size
The maximum supported image size is not necessarily the best image size.
Solution: Choose the image size based on brightness, viewing distance, and available wall space.
Mistake 3: Placing the projector too far to the side
Extreme angles can require significant keystone correction.
Solution: Keep the projector as centered as possible.
Mistake 4: Ignoring ambient light
Even a good projector can look less impressive in a brightly lit room.
Solution: Darken the room for movies.
Mistake 5: Blocking ventilation
A projector needs airflow to manage heat.
Solution: Keep vents unobstructed and follow the manufacturer's recommended clearance.
Final Recommendation
For most small-bedroom movie setups, start with an 80–100 inch 16:9 image, then work backward from the projector's throw ratio to determine where the projector should sit.
The basic setup process is:
Measure the wall → choose screen size → check throw ratio → calculate throw distance → choose placement → align projector → adjust focus → reduce ambient light.
If space is limited, prioritize a projector with a shorter throw distance and flexible placement rather than simply choosing a projector advertised with the largest maximum screen size.
A properly measured 80–100 inch bedroom setup can provide a much more immersive movie experience than a conventional TV while still fitting comfortably into a compact room.
FAQ: Bedroom Projector Setup
What is the best projector size for a small bedroom?
For most small bedrooms, an 80–100 inch image is a practical starting range. Smaller rooms may be better suited to 70–80 inches, while rooms with more available wall and throw distance can support 100 inches or more.
How far should a projector be from a 100-inch screen?
It depends on the projector's throw ratio. For a standard 16:9 100-inch image, the image width is approximately 2.21 meters. A 1.0:1 projector therefore requires about 2.21 meters of throw distance, while a 1.2:1 projector requires about 2.65 meters.
Can I project onto a bedroom wall?
Yes. A smooth, light-colored wall can work for casual viewing. For more consistent image quality, a dedicated projector screen is preferable.
Is a short-throw projector better for a bedroom?
A short-throw projector can be a good choice for a bedroom because it can create a large image from a shorter distance. This is particularly useful when the distance between the bed and projection wall is limited.
What is the best projector placement for a bedroom?
There is no single best placement. A bedside table, rear shelf, or ceiling mount can all work. The best option is the one that provides the correct throw distance, stable positioning, good ventilation, and minimal image distortion.