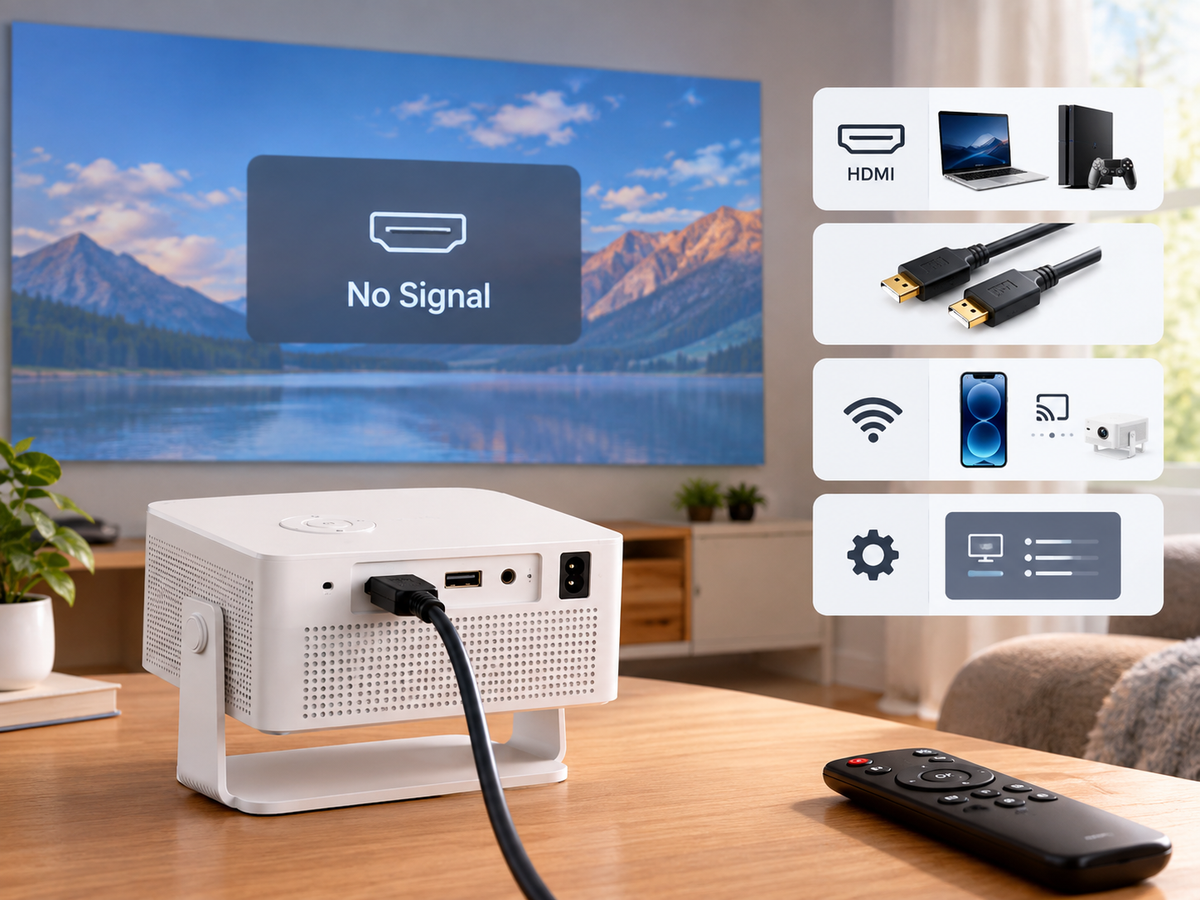

Setting up a new projector does not have to be complicated. The Magcubic HY350 GT provides built-in options for wireless connections, Bluetooth accessories, automatic image adjustment, screen casting, app installation, and USB playback.
Based on real HY350 GT operation, this guide walks you through the most common setup and everyday-use tasks—from pairing the remote and connecting Wi-Fi to adjusting the image, mirroring your phone, and using a USB drive.
1. How to Pair Your Bluetooth Remote
When you start the projector for the first time, the Remote Pairing screen appears automatically.
1. Press and hold the Return and Home buttons on the remote for about 5 seconds.
2. Keep holding until the indicator light starts flashing.
3. When a ✓ appears on the screen, the remote is paired and ready to use.
Tip: Keep the remote close to the projector during pairing.
2. How to Connect to Wi-Fi
A Wi-Fi connection is required for many online features, app downloads, and wireless casting functions.
1. Open Quick Settings → Wi-Fi and turn Wi-Fi on.
2. Select your Wi-Fi network and press OK to open the on-screen keyboard.
3. Enter your Wi-Fi password. Press the Up Arrow when you need to enter uppercase letters.
4. Select ✓ to confirm and connect.
3. How to Add a Bluetooth Device
You can connect compatible Bluetooth accessories such as speakers, headphones, or other supported devices.
1. Press the Dongle Setting button on the remote and turn on Bluetooth.
2. Select Pair remote or accessories to search for nearby devices.
3. Select your Bluetooth device from the list and press OK to pair.
4. How to Change Projection Mode
The HY350 GT supports different projection positions for flexible installation.
1. Press the Projector Settings button on the remote.
2. Go to Display → Projection Mode.
3. Select the mode that matches your setup: Front, Rear, Front Ceiling, or Rear Ceiling.
5. How to Adjust Keystone Correction
Keystone correction helps adjust the projected image when the projector is not positioned perfectly perpendicular to the screen.
Auto Keystone Correction
1. Press Projector Settings → Display.
2. Tilt or reposition the projector vertically or horizontally.
3. The projector will trigger Auto Keystone Correction.
Manual Keystone Correction
For more precise adjustment:
1. Turn off Auto Keystone Correction.
2. Select Manual Correction.
3. Press OK to select a corner.
4. Use the Arrow buttons to adjust the image.
5. Press Return when finished.
6. How to Focus Your Projector
The HY350 GT supports automatic focusing as well as manual fine-tuning.
1. Press Projector Settings → Display and turn on Auto Focus.
2. Move the projector slightly to trigger the focusing process.
3. A checkerboard pattern will appear while the projector adjusts the focus.
4. For manual adjustment, use the Focus buttons on the remote.
For the clearest image, place the projector on a stable surface and make sure the lens is clean.
7. How to Adjust Projection Size and Screen Ratio
You can adjust both the image ratio and projection size from the Display menu.
1. Open Projector Settings → Display.
2. Select Scale Mode and choose 16:9 or 4:3.
3. Select Screen Zoom.
4. Use the Arrow buttons to adjust the projected image size.
8. How to Use Obstacle Avoidance
Obstacle Avoidance can help the projector detect objects in the projection area.
1. Go to Projector Settings → Display → Advanced Settings.
2. Turn Obstacle Avoidance on.
The projector will automatically detect and avoid obstacles when supported by the setup.
9. How to Use Screen Recognition
Screen Recognition helps automatically fit the projected image to a compatible projection screen.
1. Go to Projector Settings → Display → Advanced Settings.
2. Turn on Screen Recognition.
3. Make sure the screen has a visible black border and that the projected image extends beyond the screen.
4. Move the projector slightly to trigger automatic correction.
5. The projector will automatically adjust the image to fit the screen.
10. How to Adjust Picture Settings
You can customize the image according to your viewing preference.
1. Press Projector Settings and open Picture.
2. Under Picture Mode, choose Standard, Vivid, Soft, or User.
3. Under Color Temperature, choose Standard, Cold, or Warm.
4. Use the available Brightness settings to adjust the image according to your viewing environment.
For a darker room, you can fine-tune the picture to achieve a more comfortable viewing experience.
11. How to Download Apps
To install supported apps directly on the projector:
1. Open Apps from the home screen.
2. Find the app you want to install and open its details page.
3. Select Install and wait for the download to complete.
12. How to Mirror Your Android Screen
For supported Android devices:
1. Connect your Android phone and projector to the same Wi-Fi network.
2. Open the Google Home app on your phone and select your projector.
3. Tap Cast my screen → Cast screen.
4. Select Start now to begin mirroring.
Your Android phone screen should then appear on the projector.
13. How to Mirror Your iPhone Screen
To mirror an iPhone:
1. Download and open AirScreen on the projector.
2. Connect the projector and iPhone to the same Wi-Fi network.
3. Swipe down from the top-right corner of your iPhone to open Control Center.
4. Tap Screen Mirroring.
5. Select your projector to start mirroring.
14. How to Mirror a Windows PC
For Windows computers, you can use a wired HDMI connection.
1. Connect your Windows PC to the projector using an HDMI cable.
2. Press the Source button on the remote.
3. Select HDMI.
4. Your Windows desktop should appear on the projector.
15. How to Cast Videos from Supported Apps
Some mobile apps support direct casting from your phone to a compatible display.
1. Connect your phone and projector to the same Wi-Fi network.
2. Open a casting-supported app and play a video.
3. Tap the Cast icon.
4. Select your projector from the available devices.
5. Once connected, the projector will play the video. Depending on the app, you may be able to leave the app or lock your phone while playback continues.
16. How to Use a USB Storage Device
The HY350 GT can play supported files from a USB flash drive.
1. Install the File Manager app and allow the required permissions.
2. Insert a USB flash drive into the projector's USB port.
3. Open the storage folder from the pop-up window to browse your files.
4. The projector supports USB flash drives up to 512 GB formatted as FAT32 or NTFS.
Note: External hard drives are not supported.
Quick Troubleshooting Tips
If a feature does not work as expected:
· Make sure the projector and wireless device are connected to the correct network.
· Keep Bluetooth devices close to the projector during pairing.
· Reposition the projector before relying heavily on digital image correction.
· For screen recognition, make sure the screen has a clearly visible black border.
· For USB playback, check the drive format and capacity.
· For phone casting, confirm that both devices are connected to the same Wi-Fi network.
Final Takeaway
Once the initial setup is complete, most everyday HY350 GT functions can be accessed directly from the remote and the projector's settings menu. Whether you are adjusting the image for a new room, connecting a Bluetooth accessory, mirroring a phone, or playing files from a USB drive, these step-by-step instructions can help you get started quickly.