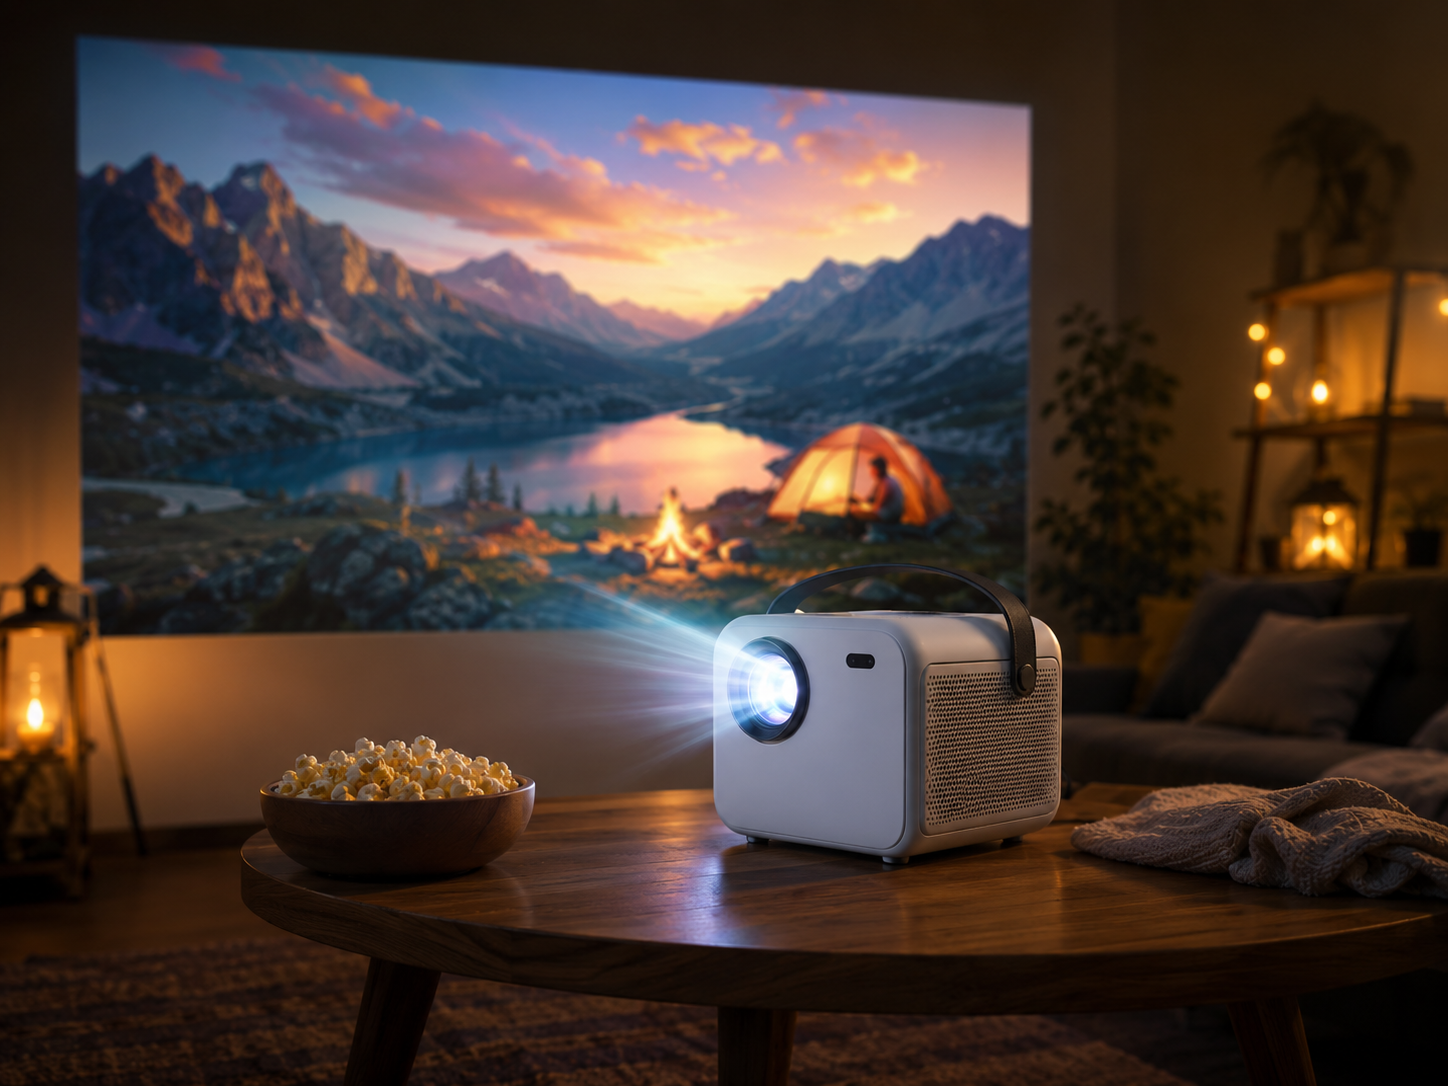

Choosing a projector is only one part of creating a good projection setup. The room itself often determines how bright the projector needs to be, how large the image should be, where the projector should sit, and whether you need a screen or external speakers.
A projector that works well in a dark bedroom may struggle in a bright living room. A living-room setup may also be completely unsuitable for a backyard because outdoor spaces introduce wind, power, sound, and changing ambient light.
The simplest approach is to choose the setup based on the room first:
· Bedroom: prioritize comfort, quiet operation, and flexible placement.
· Living room: prioritize brightness, screen size, and light control.
· Backyard: prioritize darkness, screen stability, power, portability, and outdoor audio.
Quick Projector Setup Guide by Room
|
Room |
Typical Light |
Suggested Brightness* |
Typical Throw Distance |
Common Screen Size |
Main Priority |
|
Bedroom |
Dark / controlled |
300–800 ANSI |
1.5–3 m |
60–100" |
Comfort |
|
Living Room |
Moderate / bright |
800–2000+ ANSI |
2–5 m |
90–150" |
Brightness |
|
Backyard |
Dusk / dark |
1000–2500+ ANSI* |
3–8 m |
100–200" |
Environment |
*These are general planning ranges rather than strict requirements. Actual brightness needs depend on ambient light, screen size, screen gain, viewing time, and how brightness is measured.
The most important principle is simple:
A projector should be matched to the viewing environment, not selected by specifications alone.
Bedroom Projector Setup: Optimize for Comfort
What projector setup is best for a bedroom?
For bedroom projection, comfort usually matters more than maximum brightness.
Most bedrooms can be made relatively dark at night, so you do not necessarily need an extremely bright projector. Instead, focus on:
· Low operating noise
· Easy focusing
· Flexible placement
· Comfortable screen size
· Minimal cable clutter
A 60–100-inch image is a practical starting point for many bedrooms. The ideal size depends on your viewing distance and personal preference.
Best placement
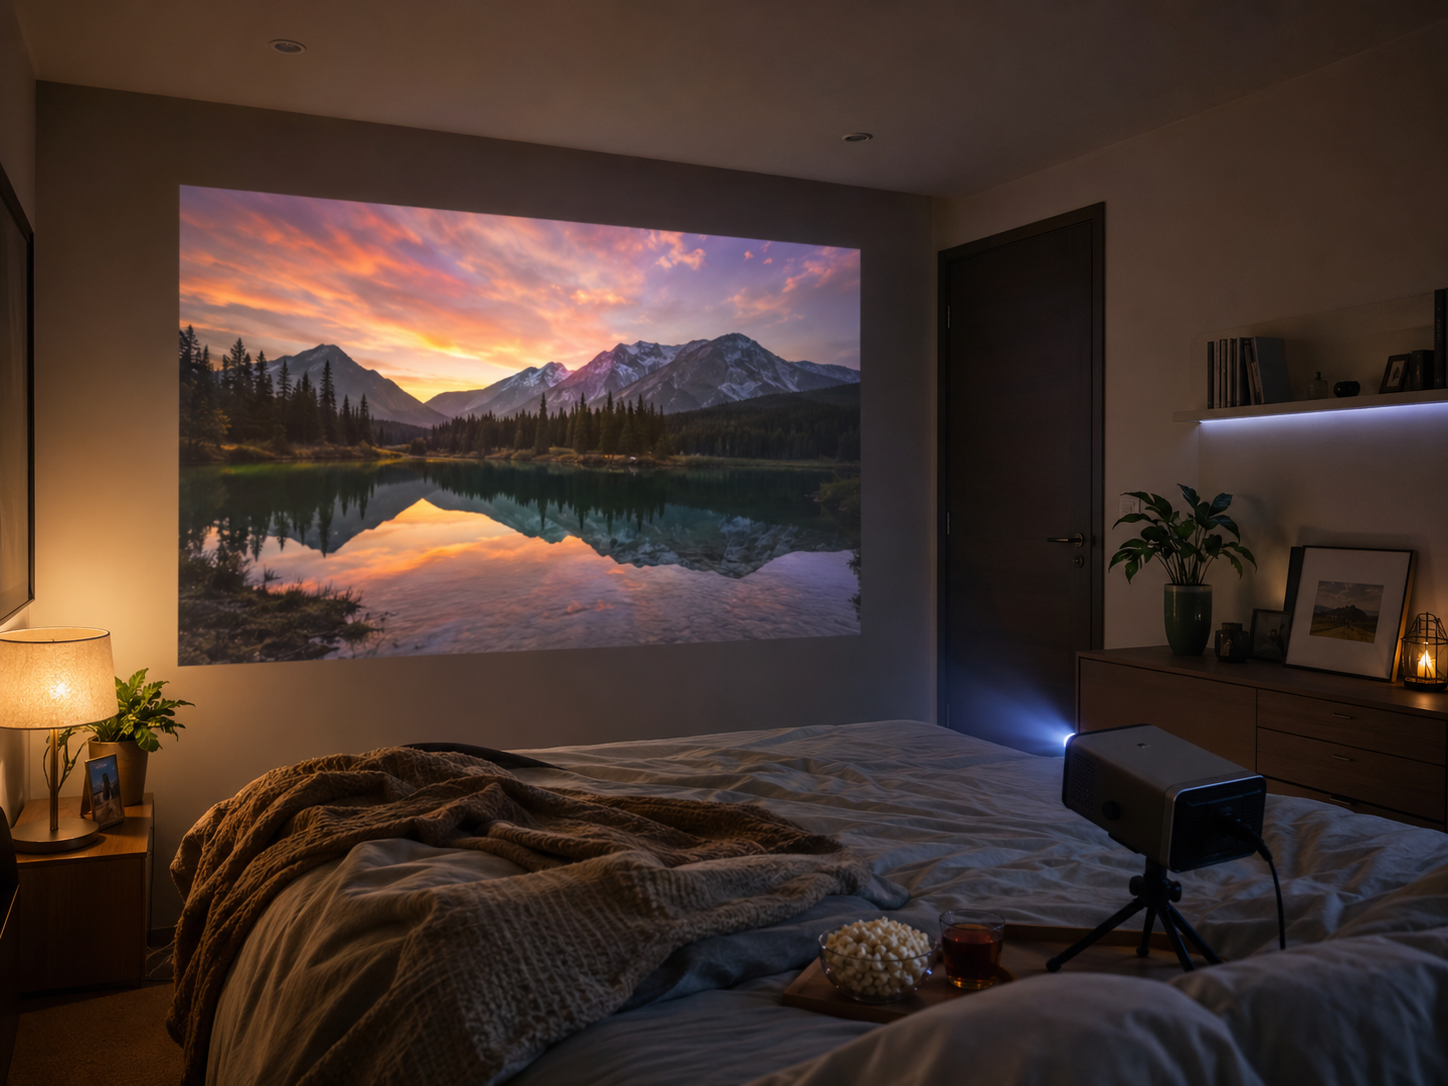
The simplest arrangement is usually to place the projector near the foot of the bed and aim it directly at the wall or screen.
Direct projection is generally preferable to an extreme side angle because heavy keystone correction can affect image geometry and edge sharpness.
For renters or temporary setups, a small table, shelf, or tripod is often more practical than ceiling mounting.
Wall or screen?
A smooth, neutral-colored wall can work well in a dark bedroom. However, a dedicated screen can provide more consistent contrast and image uniformity.
If the wall has visible texture, uneven color, or strong reflections, a screen becomes more valuable.
A real-world example
For a compact, dark bedroom setup, a projector such as the Magcubic HY320Pro can fit this type of use case. Its Native 1080P resolution, 400 ANSI brightness, and Auto Focus are designed around simple, low-light home entertainment rather than high-brightness daytime projection.
The important takeaway is not the specific model, but the selection logic:
Dark bedroom + moderate screen size + simple placement → prioritize comfort, easy focusing, and sufficient—not excessive—brightness.
Living Room Projector Setup: Control Light Before Chasing Specifications
Living rooms are usually more difficult because they have more ambient light.
Windows, ceiling lights, floor lamps, and open layouts can significantly reduce perceived contrast.
For a living room, use this priority order:
1. Control direct light → 2. Choose a suitable screen → 3. Select sufficient brightness.
This is often more effective than simply buying the brightest projector available.
Screen size
A 90–150-inch image can work well in many living rooms, but screen size should always be considered together with viewing distance.
A larger image is not automatically better. If the viewing distance is short, an excessively large screen may feel uncomfortable.
Placement options
TV Cabinet
A media console is convenient for temporary setups but requires careful cable management and protection from children or pets.
Ceiling Mount
Ceiling mounting creates a cleaner permanent installation and reduces the risk of accidental movement.
Short-Throw Placement
If the room is relatively shallow, a short-throw projector can create a large image from a shorter distance, reducing the chance of people walking through the projection path.
Before buying, always check the projector's throw ratio against the actual room dimensions.
How Bright Should a Living Room Projector Be?
There is no universal brightness number because the required brightness depends on several variables.
You generally need more brightness when:
· The room has large windows
· You watch during the daytime
· The screen is very large
· The room has strong ceiling lighting
· You cannot fully control ambient light
· You can often use less brightness when:
· Watching mainly at night
· Using blackout curtains
· Using a smaller screen
· The viewing environment is naturally dark
This is why brightness should be evaluated together with screen size and ambient light.
A Native 1080P projector with adequate brightness and good light control can provide a better practical experience than a higher-resolution projector used in an unsuitable environment.
Backyard Projector Setup: The Environment Becomes the Main Factor
Outdoor projection requires more planning than indoor projection.
A backyard setup needs to account for:
1. Ambient light
2. Screen stability
3. Power
4. Projector placement
5. Audio
6. Weather and moisture
The most important factor is usually time of day.
When is the best time for backyard projection?
The best image quality normally comes after sunset, when the surrounding environment becomes sufficiently dark.
Starting during bright dusk requires significantly more projector brightness because the sky itself creates ambient light that reduces contrast.
Therefore:
For outdoor projection, waiting for darkness can improve image quality more effectively than simply increasing screen size.
Higher brightness is still useful if you want to start earlier in the evening.
Outdoor Screen: Don't Rely on Any Available Wall
An outdoor wall may seem convenient, but it may have:
· Uneven texture
· Poor color
· Unwanted ambient reflections
· An unsuitable viewing position
A dedicated outdoor screen provides a smoother and more predictable projection surface.
For large outdoor screens, stability is especially important because wind can cause the screen to move continuously.
Use appropriate:
· Ground stakes
· Weights
· Stable frames
· Wind protection
A moving screen can make even a technically sharp projector look poor.
Outdoor Power and Placement
Power should be planned before the movie starts.
Depending on your setup, you may need:
· Extension cables
· Power strips
· Cable management
· Stable tables or tripods
· Weather-safe storage
Avoid placing cables across walking areas where possible.
The projector should also sit on a stable surface. Uneven grass or unstable furniture can cause the projector to tilt, making alignment and focusing more difficult.
Do You Need External Speakers Outdoors?
For outdoor movie nights, external speakers are generally recommended.
Indoor rooms naturally reflect sound from walls and ceilings. A backyard does not provide the same acoustic reinforcement, so sound can feel quieter and less immersive.
For a small audience, built-in speakers may be sufficient. For larger groups or wider viewing areas, a Bluetooth speaker or dedicated outdoor audio system is usually a better choice.
How to Calculate Projector Placement
Before purchasing a projector, measure two things:
1. Throw Distance
Measure the distance between the planned projector position and the wall or screen.
2. Desired Image Size
Measure the available wall or screen width and decide how large you want the image to be.
Then compare these measurements with the projector's throw ratio.
The basic rule is:
Short room + large image → consider short-throw or flexible-placement options.
Longer room + large image → standard-throw projectors may provide more choices.
Do not choose a projector based only on its advertised maximum screen size. Always check whether that screen size is practical for your actual room dimensions.
Room-by-Room Setup Priorities
|
Room |
Priority 1 |
Priority 2 |
Priority 3 |
|
Bedroom |
Comfort |
Easy placement |
Moderate brightness |
|
Living Room |
Light control |
Brightness |
Screen quality |
|
Backyard |
Darkness |
Screen stability |
Power & audio |
This leads to a simple decision framework:
Bedroom: Make the setup comfortable.
Living Room: Make the image visible.
Backyard: Make the environment controllable.
5-Minute Projector Setup Check Before Buying
Before purchasing a projector, answer these five questions:
1. How dark is the room when I normally watch?
2. How far can the projector sit from the screen?
3. How large do I actually want the image to be?
4. Can I control ambient light?
5. Do I need built-in or external audio?
These five answers can eliminate many unsuitable projectors before you even compare brands.
FAQ
What projector setup is best for a bedroom?
A bedroom setup should prioritize quiet operation, comfortable brightness, easy focusing, and flexible placement. A 60–100-inch image is a practical starting point for many bedrooms.
How bright should a projector be for a living room?
Living-room brightness depends on ambient light and screen size. A darker room requires less brightness, while daytime viewing and large screens require more.
Can I use a projector on a white wall?
Yes. A smooth, neutral white wall can work well, particularly in a dark room. A dedicated screen generally provides more consistent image quality.
What is the best time for backyard projection?
After sunset is usually best. The darker the environment, the easier it is for the projector to maintain contrast and image visibility.
Do I need a screen for outdoor projection?
A dedicated outdoor screen is strongly recommended because it provides a smoother and more stable surface than most outdoor walls.
Do outdoor projectors need external speakers?
Not always, but external speakers are recommended for larger outdoor viewing areas because sound dissipates more quickly in open spaces.
Final Takeaway
The best projector setup starts with the room, not the projector.
For a bedroom, focus on comfort, quiet operation, and easy placement. For a living room, control ambient light and balance brightness with screen size. For a backyard, plan around darkness, screen stability, power, and sound.
Once you know your room conditions + throw distance + desired screen size, choosing the right projector becomes much easier.
The goal is not to buy the projector with the most impressive specification. The goal is to build a setup where the projector's capabilities actually match the environment.